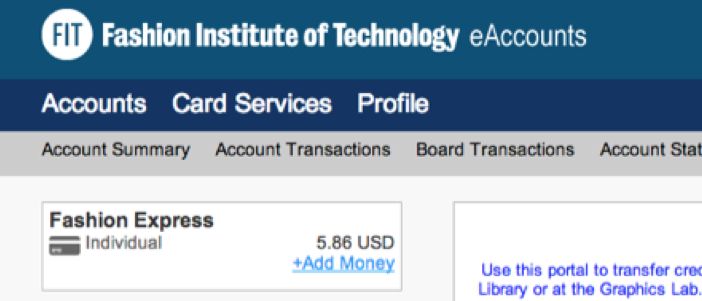
How to add money to your Campus Card online
Instructions
Via eAccounts Website
1. Go to the eAccounts website
Method 1: Go directly to the eAccounts website at https://fit-sp.transactcampus.com/eaccounts
Method 2: Log in to MyFIT with your FIT username and password. Select the “Web Resources” page and then select “FIT Card” under FIT Web Resources.
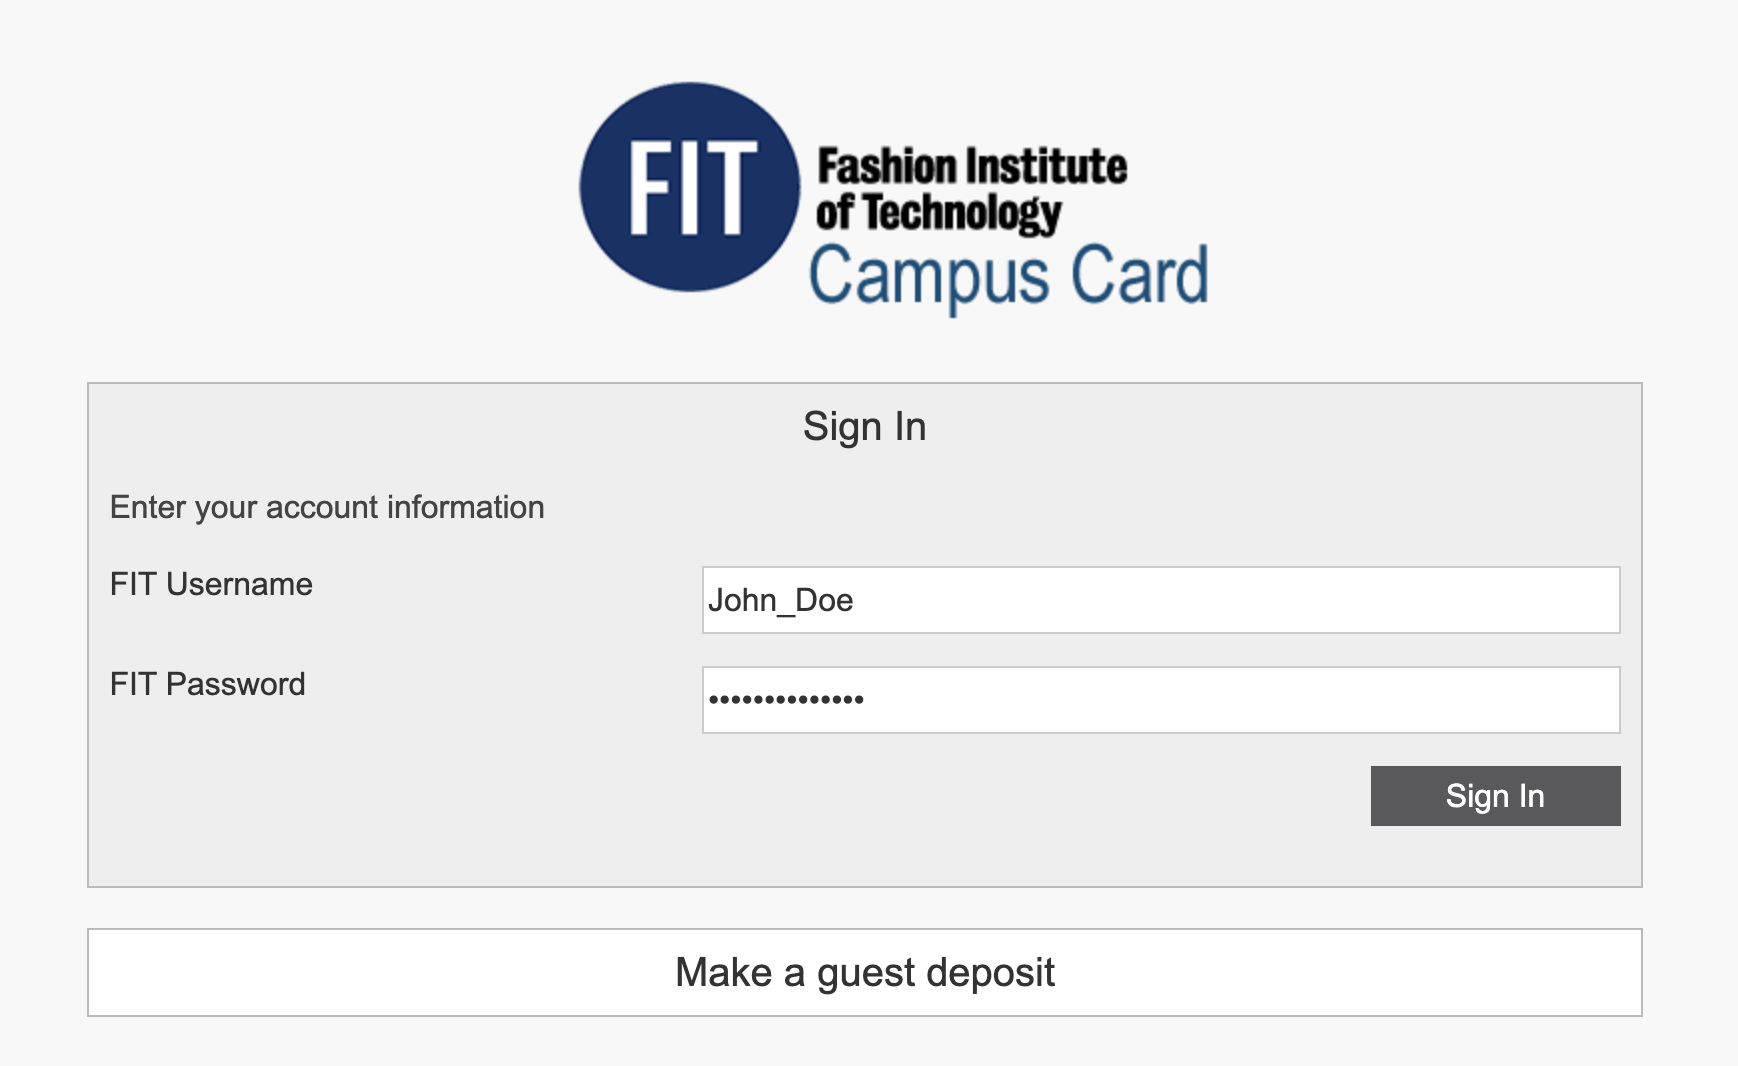
2. Log in to your eAccount
Enter your FIT username and password
Click the “Sign In” button
3. Add money to your Fashion Express account
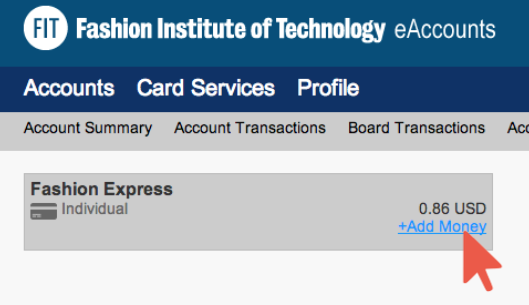
Click on “+Add Money.” Then, select or leave Fashion Express as the Account option you wish to deposit funds.
What can you use your "Fashion Express" account funds for?
Funds added using a Campus Pay Kiosk or online via eAccounts will be deposited into your Fashion Express account and can be used for the following:
- Printing
- Copying
- PrintFX and FabLab orders
- To Purchase Food at any on-campus food service location*
*If you have a Declining Balance with your Meal Plan – that account money will be used automatically by dining services for food purchases. Once the Declining Balance is at $0, you can use your “Fashion Express” account funds for food purchases.
How much are Pay-for-Print services?
Printouts Cost:
10 cents for black and white
90 cents for color
Tech Tip:
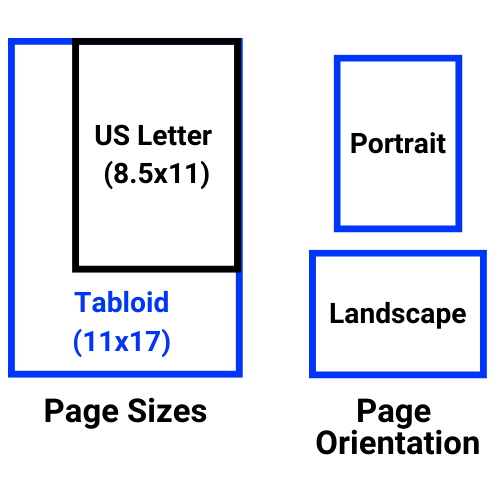
Letter 8.5 x 11 cost is the same as tabloid 11 x 17
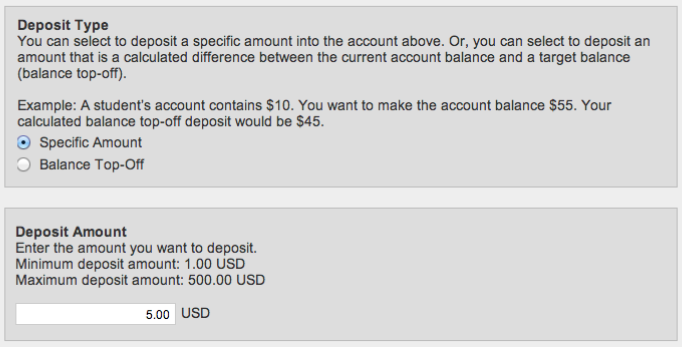
4. Select your deposit type and amount
Select “Specific Amount” or “Balance Top-Off”*. Then enter the Deposit Amount or Target Balance. Click Next.
*Use “Balance Top-Off” and the system will calculate the amount needed to reach a Target Balance you enter.
Example: John Doe’s current balance is $0.86 if he wants $5 in his account. He can select Balance Top-Off & enter 5.00 as the Target Balance, and the system will calculate $4.14 as the deposit amount.
5. Select payment method
Select Credit Card as the method of payment if not selected by default and click “Next.”

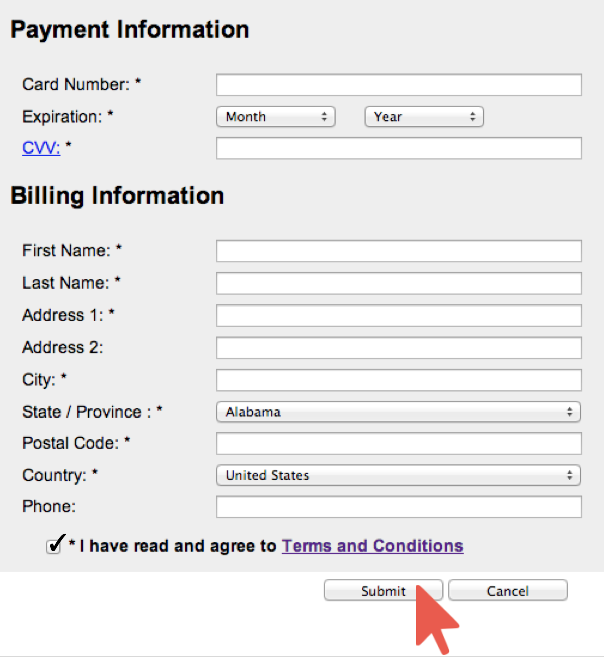
6. Complete payment/billing information form
Fill in all the Payment and Billing Information Fields. Fields with an asterisk * are required.
Check the box next to “*I have read and agree to Terms and Conditions” after you have read the Terms and Conditions. Then click the “Submit” button.
7. Review your deposit
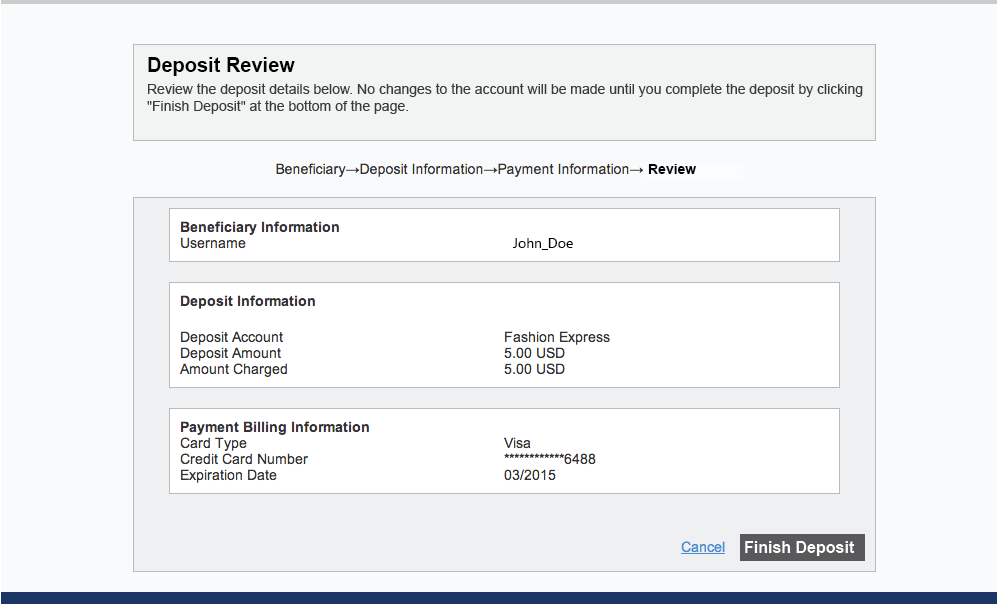
Your deposit is not successfully completed until you click “Finish Deposit” and see the “Receipt for Account Deposit page”.
If you find a mistake on this page, click “Cancel.”
If you confirm everything is correct, click “Finish Deposit.”
No money will be deposited into your account until you click “Finish Deposit.”
8. Print or confirm email receipt
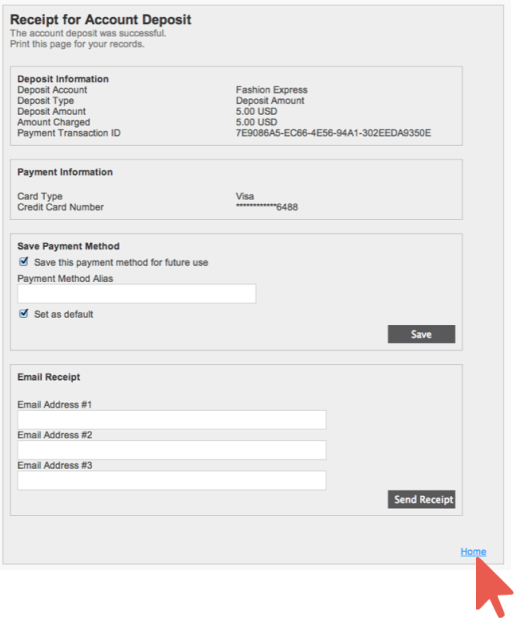
Print this page for your records or confirm you received your Email Receipt before you log out or return to the main page of your eAccount.
OPTIONAL: Check the box “Save this payment method for future use.” Choose a Payment Method Alias to help you remember the Credit Card saved. Then click Save. An Email Receipt will be sent to your FIT Email Account automatically.
You can add email addresses to send the additional Receipt then click Send Receipt.
Click on “Home” to return to the main page of your eAccount
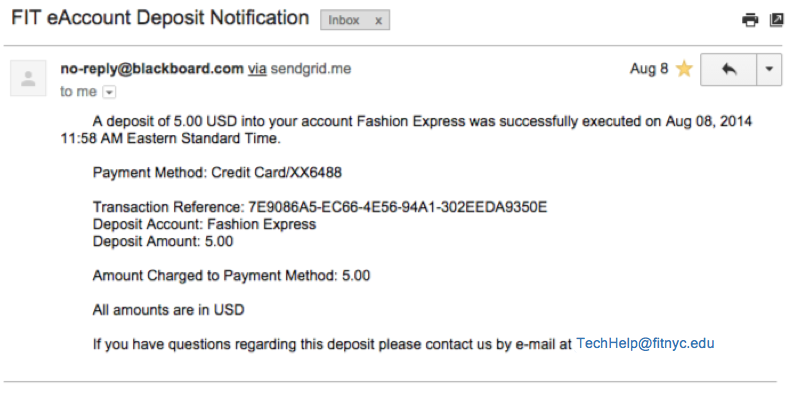
Example Email Receipt
An Email Receipt will automatically be sent to your FIT Email Account. Verify the Email Receipt has been received before you log out or return to the main page of your eAccount.
10. Review your new account balance
Your New Account Balance will be visible on the main page of your eAccount.
